For any DIY enthusiast or handy homeowner, having a collection of tools is a must. However, without proper organization and storage, finding the right tool when you need it can become a frustrating and time-consuming task. A well-organized tool storage system not only saves you precious time but also helps extend the lifespan of your tools by keeping them protected and easily accessible. In this blog post, we will explore efficient ways to store and manage your tools, ensuring a clutter-free and functional workspace that enhances your DIY projects.
Assessing Your Tool Collection
Before diving into organizing your tools, start by assessing your collection. Sort through your tools and evaluate their frequency of use, size, and specific storage requirements. Identify tools that are no longer needed or duplicates that can be donated or discarded. This step allows you to create a streamlined and purposeful tool collection.
Creating a Workspace Layout
Designating a Work Area: Determine a dedicated work area for your DIY projects. This can be a workshop, garage, or even a designated corner in your home. Establishing a defined workspace helps create a focused environment and ensures that tools are kept in a designated area.
Workbench or Tool Station: Set up a workbench or tool station where you can perform tasks and keep frequently used tools within easy reach. This area should have ample workspace and storage options such as drawers, pegboards, or shelves.
Choosing Tool Storage Solutions
Toolboxes and Tool Chests: Toolboxes are portable and ideal for small to medium-sized tool collections. Look for durable options with compartments or trays for organizing smaller tools. For larger collections, consider tool chests that provide more storage space and may include multiple drawers for better organization.
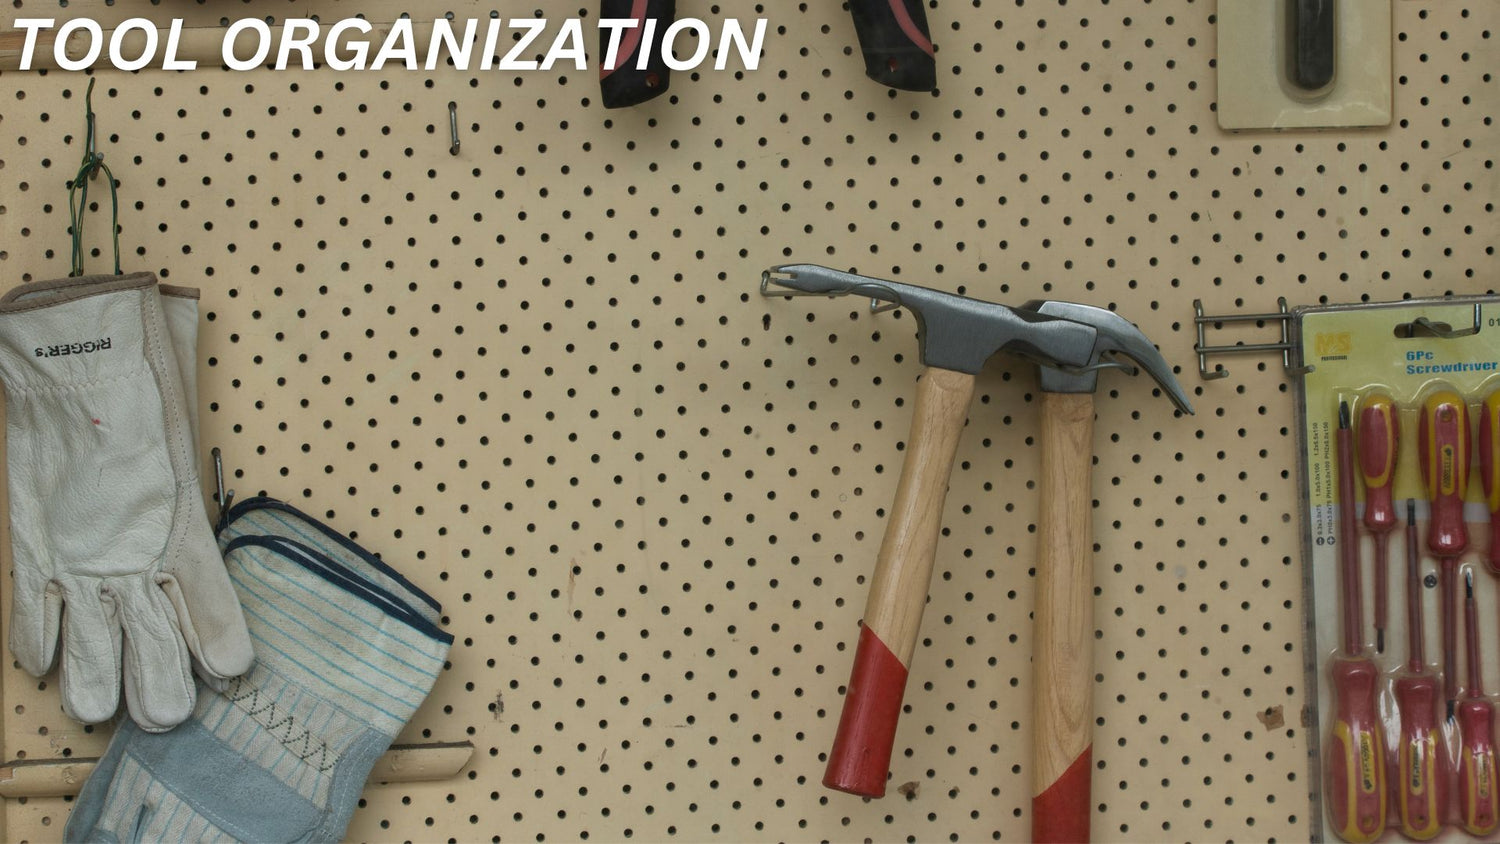
Pegboards and Wall Storage: Installing a pegboard on your workshop wall is an excellent way to keep frequently used tools visible and easily accessible. Use hooks, holders, and shelves to organize tools based on size and function. This method maximizes vertical space and keeps your workspace clutter-free.
Tool Cabinets and Cabinets with Drawers: Cabinets with drawers are perfect for storing hand tools, power tools, and accessories. The drawers allow for efficient organization and prevent tools from getting damaged or lost. Consider labeling or color-coding drawers for quick identification.
Tool Racks and Tool Hangers: Tool racks and hangers are useful for storing long-handled tools such as shovels, rakes, and brooms. Install them on the walls or hang them on the back of doors to keep these tools organized and off the floor.
Tool Bags and Tool Belts: Tool bags are portable and convenient for carrying a small selection of tools to different project sites. Tool belts, worn around the waist, keep essential tools within easy reach while you work. Use them for frequently used tools or for tasks that require mobility.
Organizational Strategies
Categorize and Group Tools: Group similar tools together based on their function or project type. For example, keep all electrical tools together, woodworking tools together, and so on. This makes it easier to locate the tools you need for specific tasks.
Labeling and Tagging: Label drawers, cabinets, or shelves to indicate the contents within. Use clear and descriptive labels for easy identification. Consider using color-coded labels or tags to further differentiate between tool categories.
Tool Foam Inserts: Foam inserts are custom-cut foam trays that fit inside toolboxes or drawers. They provide a snug and secure fit for each tool, preventing them from shifting during transport or storage. The outlines of the tools can be traced on the foam, making it easy to identify each tool and quickly notice if any tool is missing.
Drawer Dividers and Organizers: Utilize drawer dividers and organizers to create compartments within your tool cabinets or chests. This helps separate tools by size and type, keeping them organized and preventing them from rolling around or becoming tangled.
Wall-Mounted Shelves and Bins: Install wall-mounted shelves or use plastic bins to store larger tools or containers of smaller items such as screws, nails, and bolts. Clear bins allow for easy visibility, while labeled shelves ensure quick retrieval.
Magnetic Strips and Tool Holders: Magnetic strips or tool holders can be attached to walls or the inside of cabinet doors to hold metal tools securely in place. This eliminates the need for drawer or shelf space, freeing up more storage options.
Maintenance and Cleaning
Regular Maintenance: Keep your tools in good working condition by performing regular maintenance. This includes cleaning them after use, lubricating moving parts, and sharpening blades or bits as needed. Proper maintenance prolongs the lifespan of your tools and ensures optimal performance.
Cleaning the Storage Area: Regularly clean and organize your tool storage area to prevent dust, debris, and moisture buildup. A clean workspace not only promotes a safe and efficient working environment but also helps you quickly locate and access your tools.
Safety Considerations
Secure Storage: Ensure that your tools are stored in a safe and secure manner, especially if you have children or pets at home. Lockable cabinets or toolboxes provide an extra layer of protection, preventing unauthorized access.
Proper Tool Handling: Always handle your tools with care and follow safety guidelines when using them. Return tools to their designated storage locations after each use to reduce the risk of accidents or injuries.
Conclusion
Efficient tool organization is the key to a successful DIY journey. By assessing your tool collection, creating a workspace layout, choosing appropriate storage solutions, implementing organizational strategies, and maintaining a clean and safe environment, you can enjoy a clutter-free and productive workspace. Remember, an organized tool storage system not only saves you time and frustration but also enhances the lifespan of your tools. So, invest some time in setting up an efficient tool organization system and enjoy the benefits of a well-structured DIY workspace that empowers you to take on any project with confidence.


